
Learning to tie your own flies is arguably one of the most rewarding aspects of fly fishing. It's one thing to learn to cast a fly, it's an entirely different experience to master the art of fly tying. There's truly nothing more exciting than catching your first fish on a fly you've tied, especially if it is an original pattern! Here are 5 simple ways to get started:
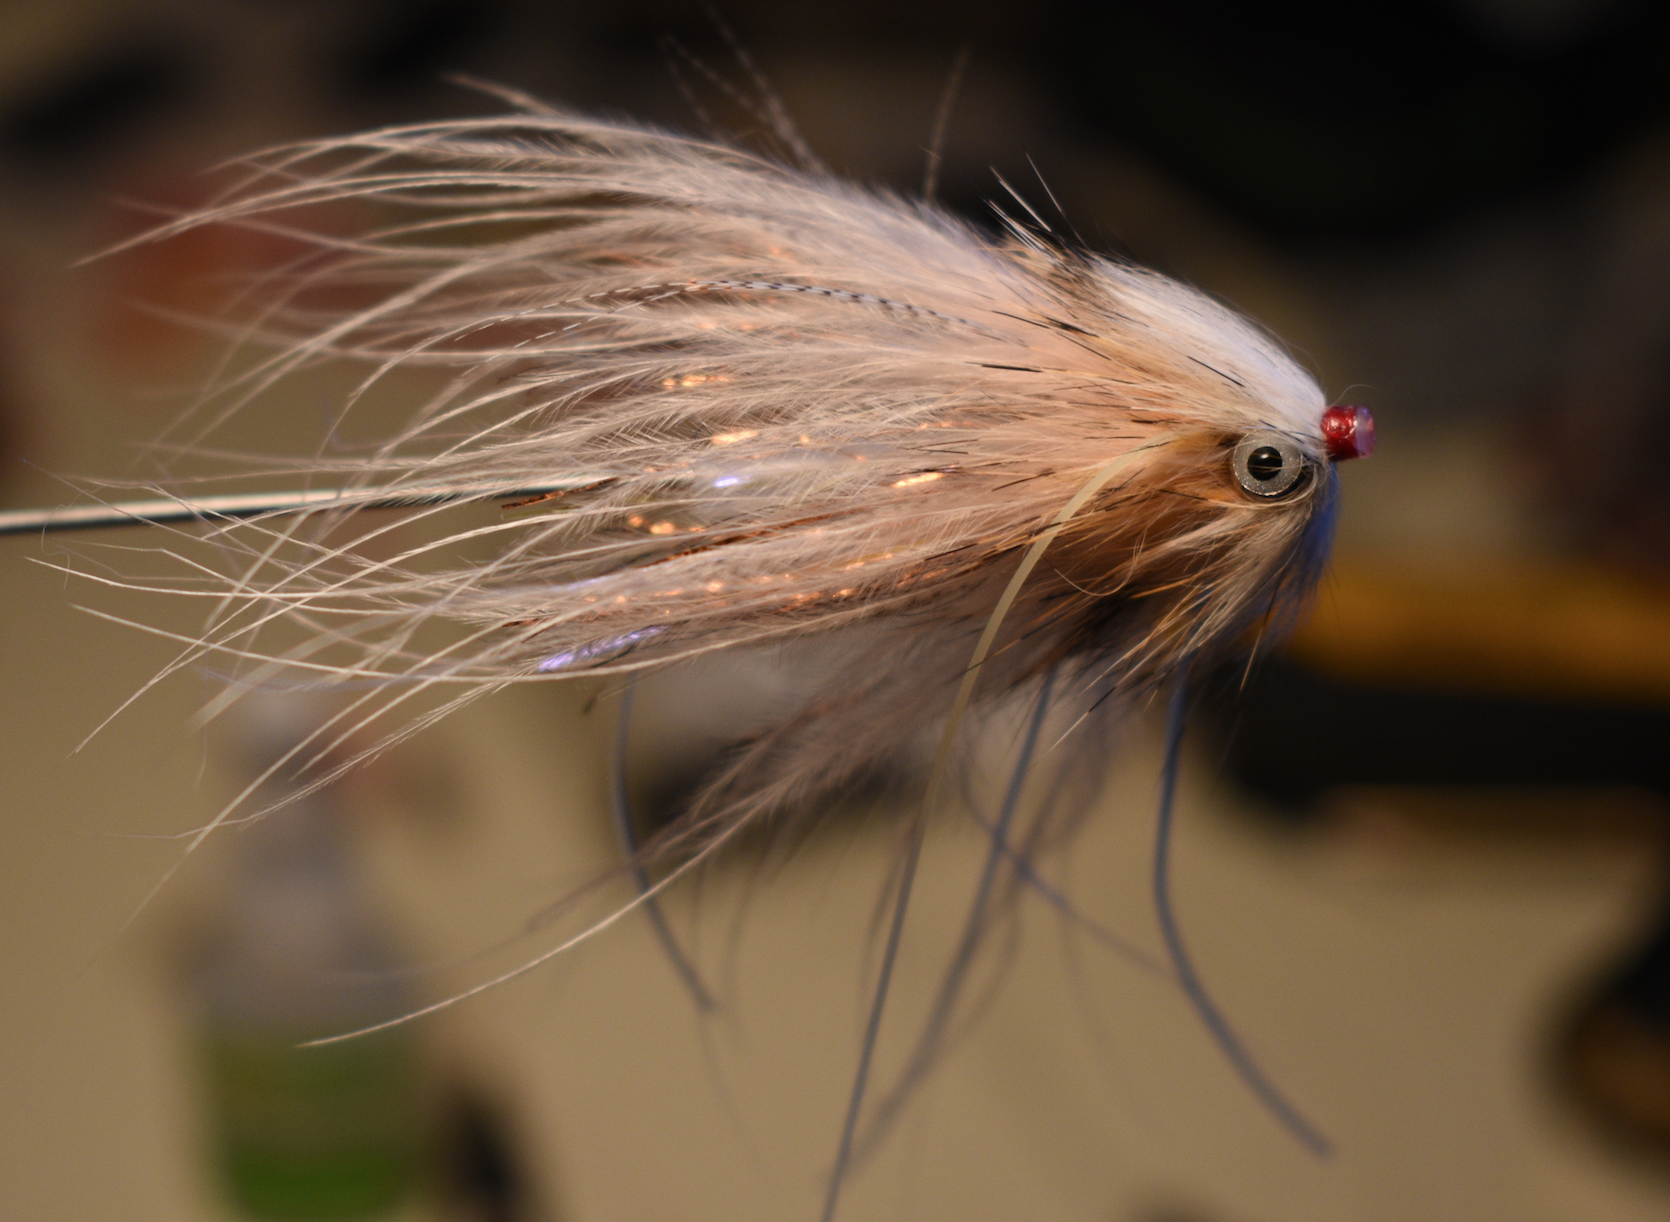
One of our original swinging flies for big Rainbow Trout and Dolly Varden!
1. Get Some Basic Fly Tying Tools
Purchasing some modestly priced fly tying tools is the most important step you can take when you've decided you want to tie your own flies. Once you take a leap into the world of fly tying, you'll be itching to get started right away. Having the right tools will go a long way to ensuring that you can get tying right away. You don't have to break the bank when buying your first set of tools, but spending a little more right now can save you a good bit of money in the long run.
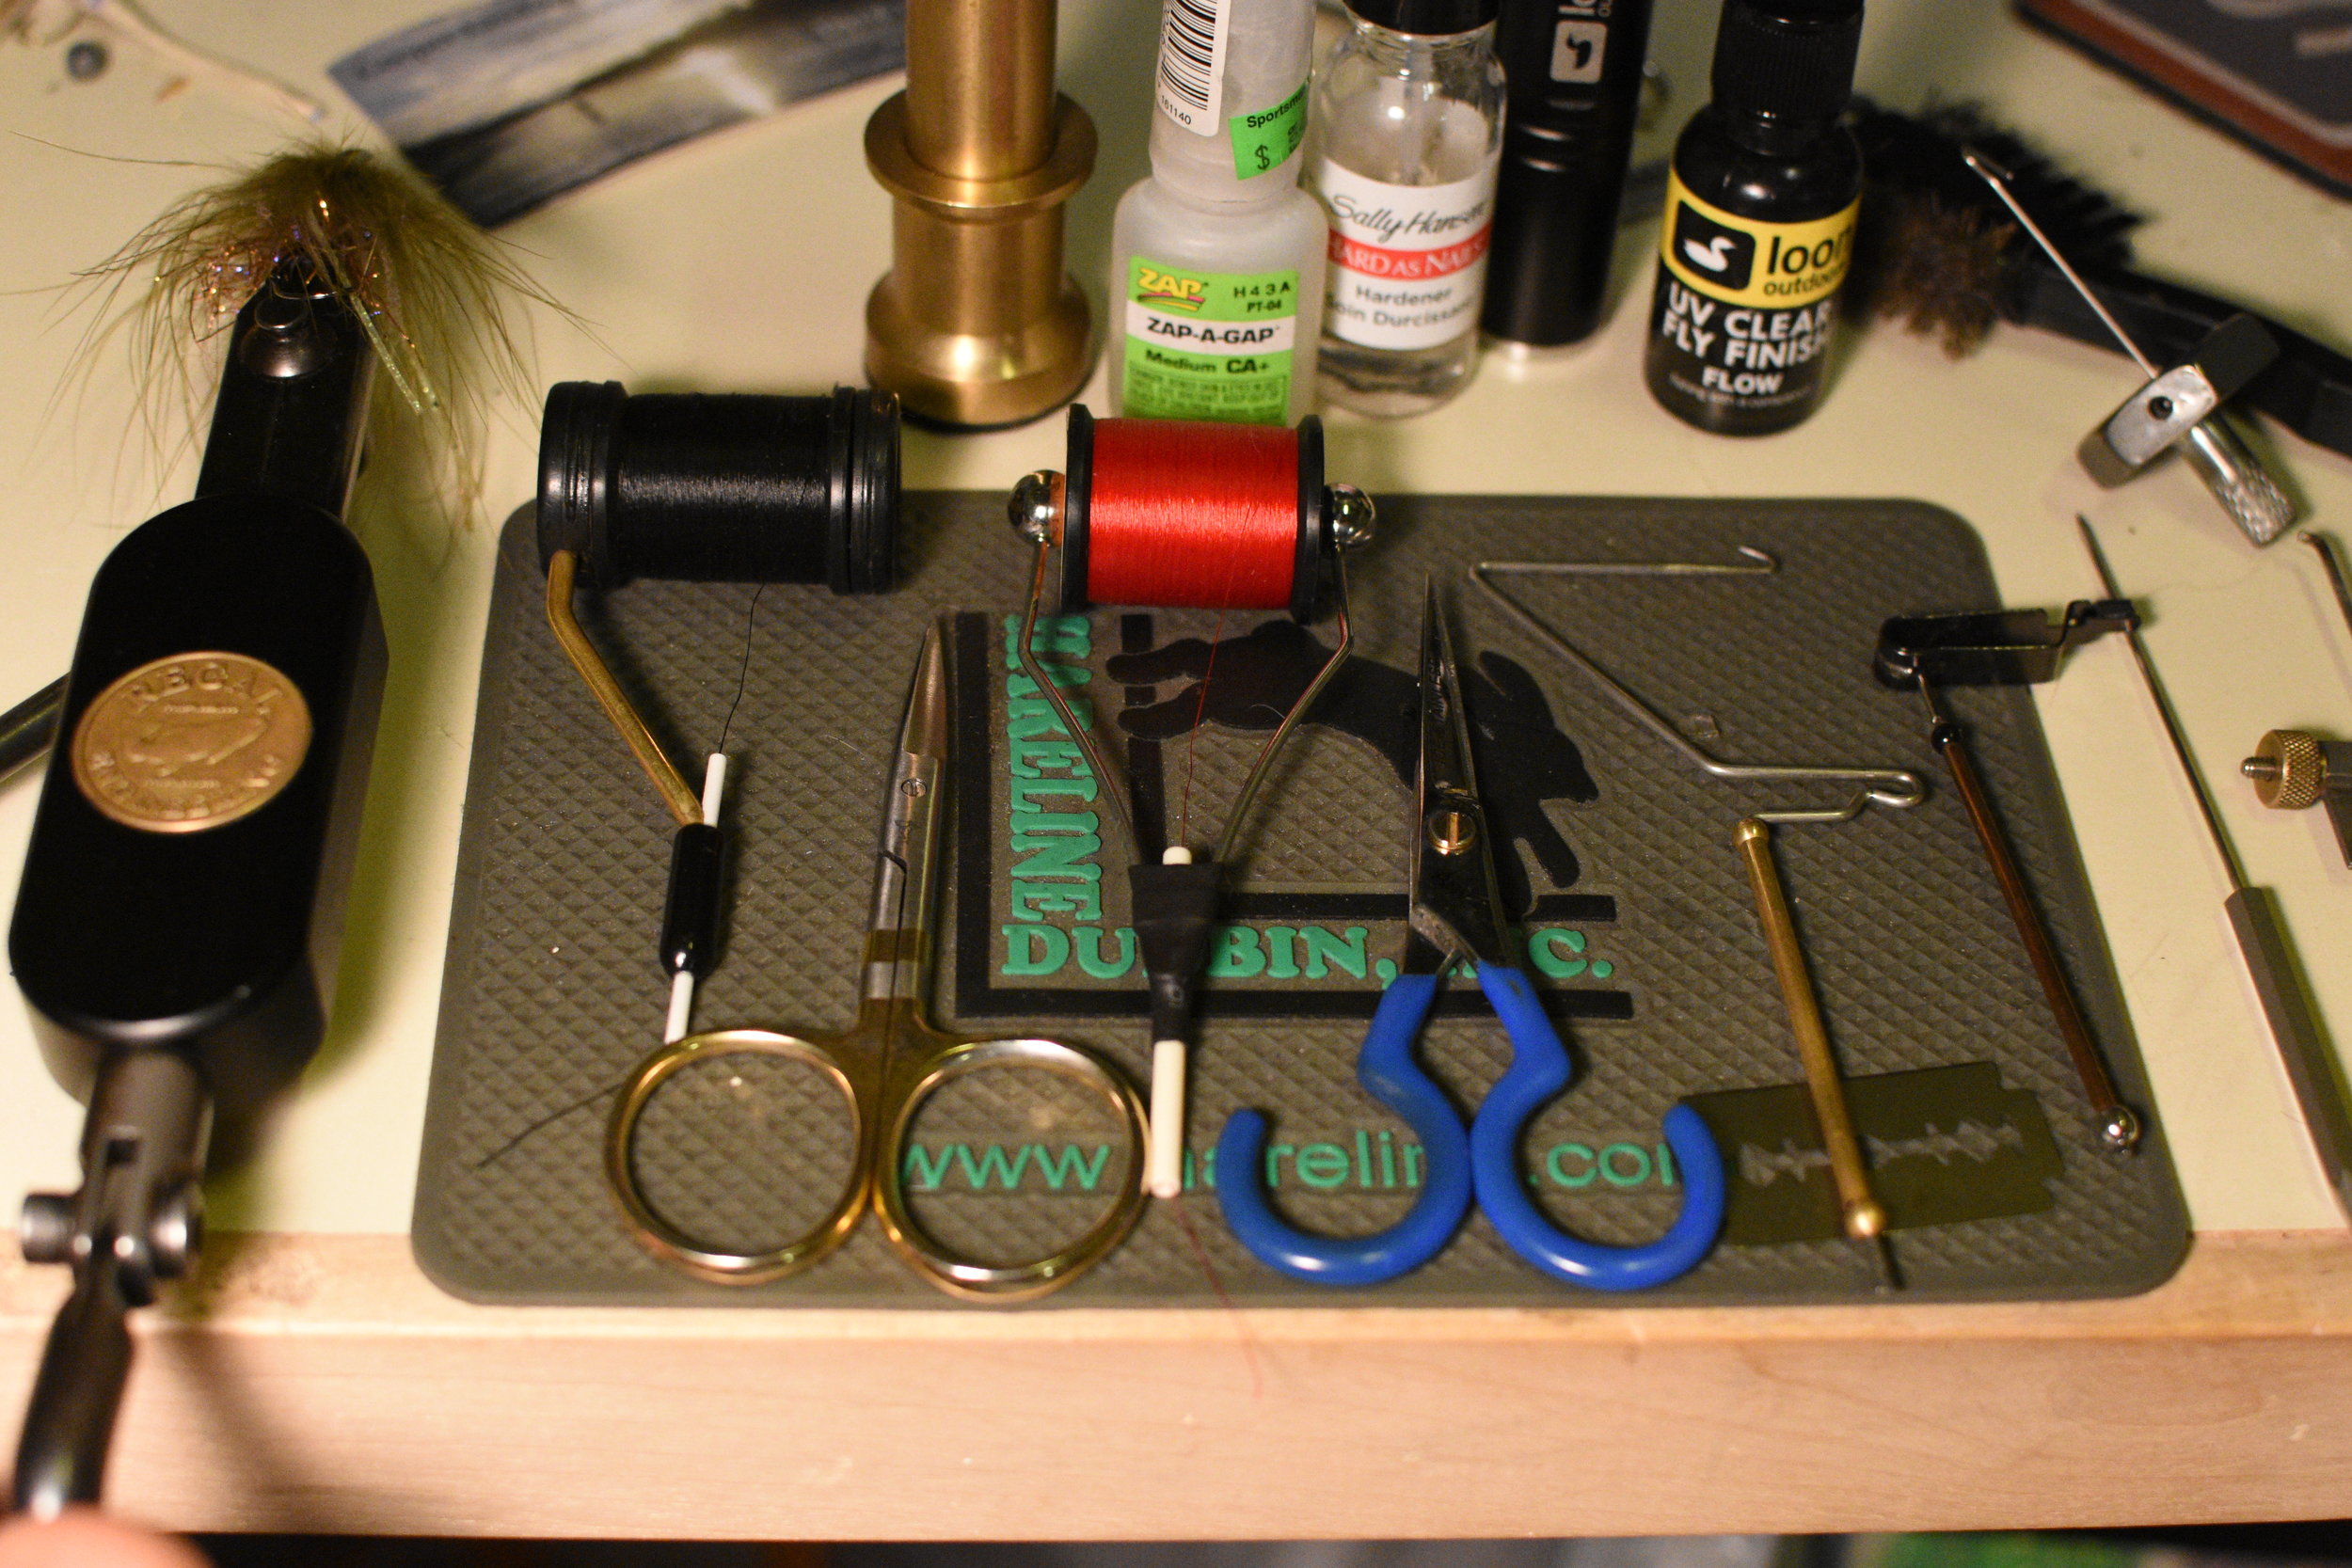
An assortment of my favorite tools!
Essential Beginner Fly Tying Tools: Vise, Bobbin, Whip Finisher and Scissors
Additional Tools: Bobbin Threader, Hackle Pliers, Hair Stacker, Bodkin, Tube Fly Vise Accessories & Brush/Flea Comb
Vises: You don't need an intricate $500.00 vise when you're just starting out, but you do want one with strong jaws that can accommodate a decent variety of hook sizes. Griffin makes some great, reasonably-priced "beginner" vises that will give you professional hook-holding power, without shelling out a lot of $$$. I personally use a Regal vise, but the Griffin Odyssey Spider was my first vise and it will serve you well!
Bobbins: Here again, you don't need to break the bank; however, you will want to spend enough to ensure that your bobbin isn't causing your thread to break or fray unnecessarily. I definitely prefer ceramic inserts in my bobbins and currently use a Rite Bobbin, but have several Griffin Ceramic bobbins that do an exceptional job!
Whip Finishers: Super basic will get it done and I highly recommend an oversized whip finisher if you ever plan on tying tube flies or larger flies. Smaller whip finishers will get you through 90% of every day tying, but having a wider tool comes in mighty handy! You can also whip finish by hand and it's a great skill to learn, but learning both ways will make you a super, well-rounded tying master!
Scissors: An essential, must-have tool for every fly tying application is a pair of good, sharp tying scissors. Sharpness and quality is key! I currently use the Anvil Ultimate Scissors which are a bit expensive, but if you spend around 10 bucks, you should be in the game! I recommend having at least 2 pairs handy, as you will definitely misplace them while tying. Also, be careful what you cut with your fly tying scissors, you'll want them to be sharp so they will last you a while.
2. Decide What Species You Want To Target

Jackie's awesome Rainbow Trout!
My advice here is to keep it simple. If it's the world of Trout and Salmon, as we are accustomed to here in Alaska, there is almost an endless number of fly patterns, sizes and materials you could need. However... a few simple patterns have proven themselves over the many years of fishing for trout and salmon - The Wooly Bugger, Zonkers and other streamers are excellent flies to get started with. Each of these flies only require a few basic materials in a couple of varieties of colors. Materials like marabou, rooster hackles, rabbit zonkers, flash and some peacock herl will get your box filled with fishable flies in no time!
3. Watch a Few Youtube Fly Tying Videos
The link above to beginner fly tying tools and techniques is probably one of the best series of videos for learning the ins and outs of tools and tying some basic patterns and learning basic techniques. Once you've watched these videos a few times, you'll get a good idea of the kinds of materials you'll need to tie your first few flies. Here is a streamer pattern I came up with that is one of my best trout flies! Check out the video:
4. Buy Your First Materials
Admittedly, I have far, far, far too many fly tying materials. However, I can basically tie any kind of fly, in most colors that you can think of. Having a good number of materials and colors is not essential at this point, but the more you get into fly tying, the more you're going to be buying. For now, focus on the few flies you want to tie and what sizes, colors and materials you'll need.
An often overlooked aspect to fly tying is the quality and design of fly tying hooks. Hooks come in all shapes, thicknesses, qualities and so on and it can be a daunting process to pick out the right ones. My suggestion is to opt for highest quantity of hooks you can get in the highest quality you can get that suits your budget and specific fly design needs. Hook packs of 50 can be bought for as little as $5 or $10 and can give you a lot of hooks to do some serious experimenting!
5. Tie Your First Fly and Fish It!

One of my favorite winter Rainbow Trout on an original hand-tied fly!
A truly rewarding feeling is having a fish be fooled by a fly that you tied! Not only will you have found a new life-long passion to supplement your fly fishing addiction, you will have a great sense of enjoyment and pleasure catching fish on flies you tied yourself. With any luck, your new-found passion will continue to grow, your skills will evolve and you'll be designing flies that suit your fishing style and situations.
Best of luck on your new journey and TIGHT LINES!